
Greetings all. So I put together a little tutorial on how I do rust for a forum I frequent regularly, The Painted Dragon and thought I should post it here as well. Enjoy!
______________________
Okay, about time I got that rust tutorial posted. I may come back in the future and redo this tutorial as a video, but for now this will work.
What you will need:
1. A model with areas you want to rust (in this case an Ork boy)
2. Red/Brown and Orange/Red paint (in this case P3 Bloodstone and Khador Red Highlight, but GW Darkflesh and Blazing Orange or similar will work fine)
3. Matte or Glaze Medium (Note, if using Glaze Medium you will need to have some matte varnish as it ends up shinny)
4. The pot of the last color applied before rust added (in this case Boltgun Metal) and a Drybrush
PREPARATION:
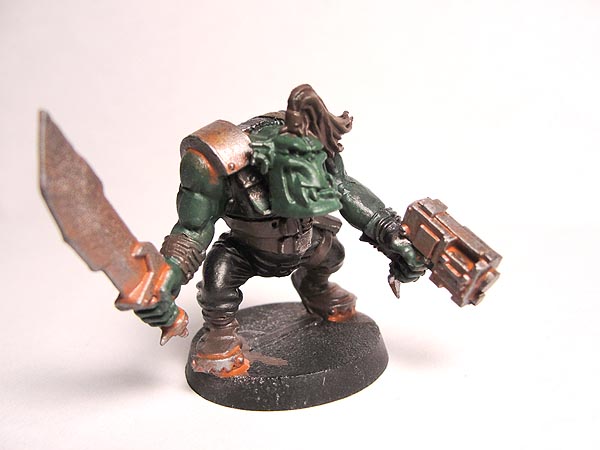
Here is our Ork boy ready to be rusted.

He was primed Black then Dry Brushed with a heavy coat of GW Tin Bitz followed by another heavy coat of Boltgun Metal. Then the flesh was picked out in P3 Gnarls Green (GW Ork Hide Shade would work too), Cloth with GW Chaos Black, and Leather with P3 Battlefield Brown (Mid earthy Brown).
Now we need to mix our Rust wash. Mix equal parts (as shown below) P3 Bloodstone, P3 Khador Red Highlight, and Matte Medium (I use the P3 Matte Medium, but it is widely available from Vallejo, Golden Fluid Acrylic, etc).
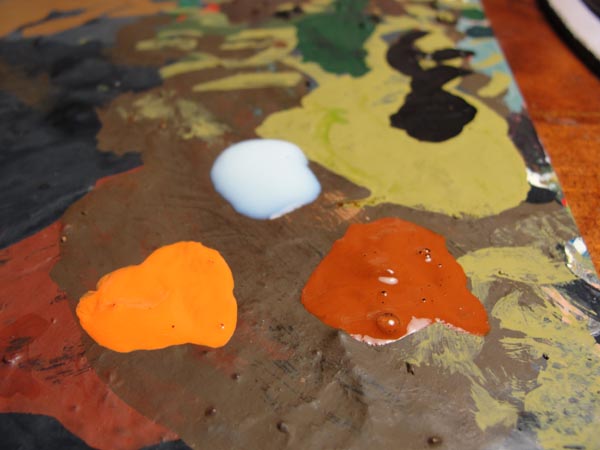
Now add in several drops of water, I usually go 1:1 Paint Mix to Water. Now you have your rust wash.
STEP 1
Wash your rust wash onto the areas you want to rush. If you are just going for a light rush patina to your metals do this sparingly, if you want lots of pooled rush all over the weapon/armor/track slap it on like you would a normal wash, allowing it to pool in recesses like so.
Let the wash dry completely before proceeding. If the rust effect is so thin/not strong enough you can repeat the wash as many times as needed. Washing with several slight variance to the color mix (more or less of each color) can look very nice with multiple light washes to build up the effect.
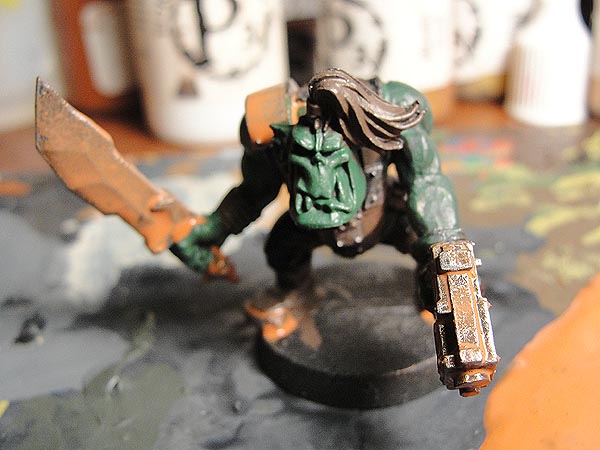
STEP 2
After the wash dries completely it should look something like this:
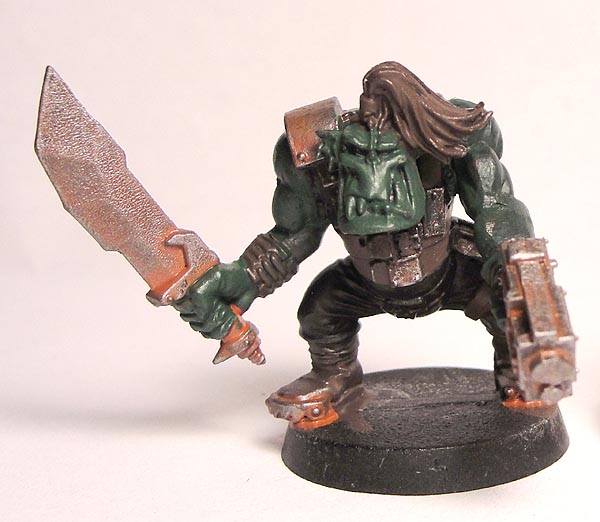
Now take out your trusty dry brush and begin to lightly dry brush the rust surfaces with the color. Make sure to stick to edges and for things like bladed weapons dry brush for the sharpened edge out. Your model will end up look something like this.
STEP 3
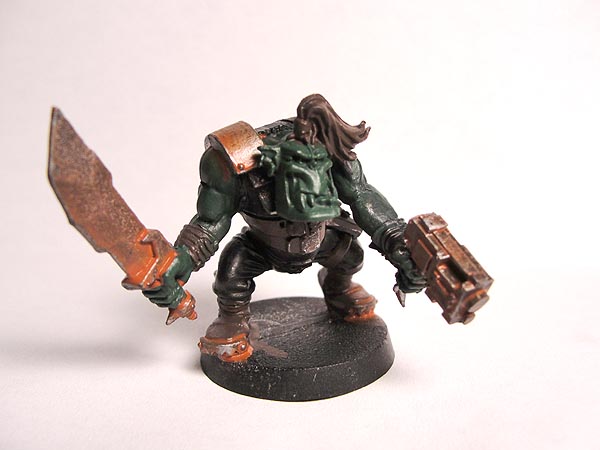
Okay time to clean up any over spill wash with original base colors for cloth, flesh, and leather and then get to Highlighting. Since Rusting a mini is a messy step that requires random washes and dry brushing I suggest to do it early in your paint steps to insure not ruining any of your previous detail or highlight work.
Your final model post clean up should look something like this.
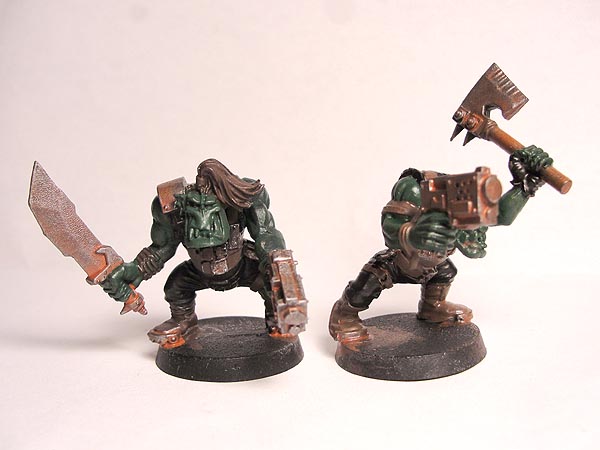
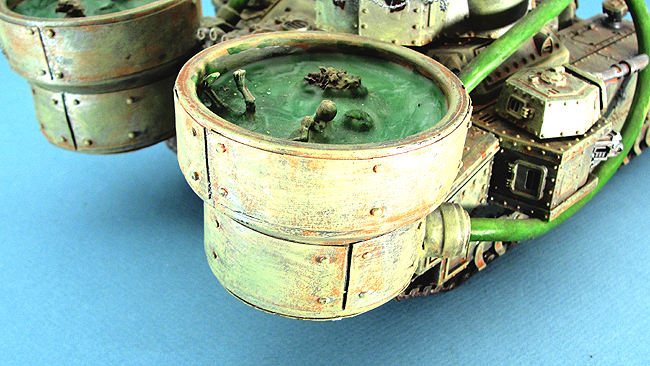
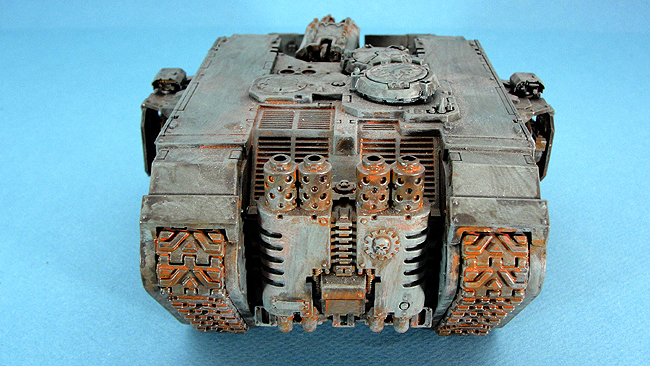
And here are a few other models I have used this technique on.

Until next time.


Good work!
ReplyDeletegamekiller
ReplyDeletegamekiller app
game killer
gamekiller apk
gamekiller download
Since Rusting a mini is a messy step that requires random washes and dry brushing I suggest to do it early in your paint steps.